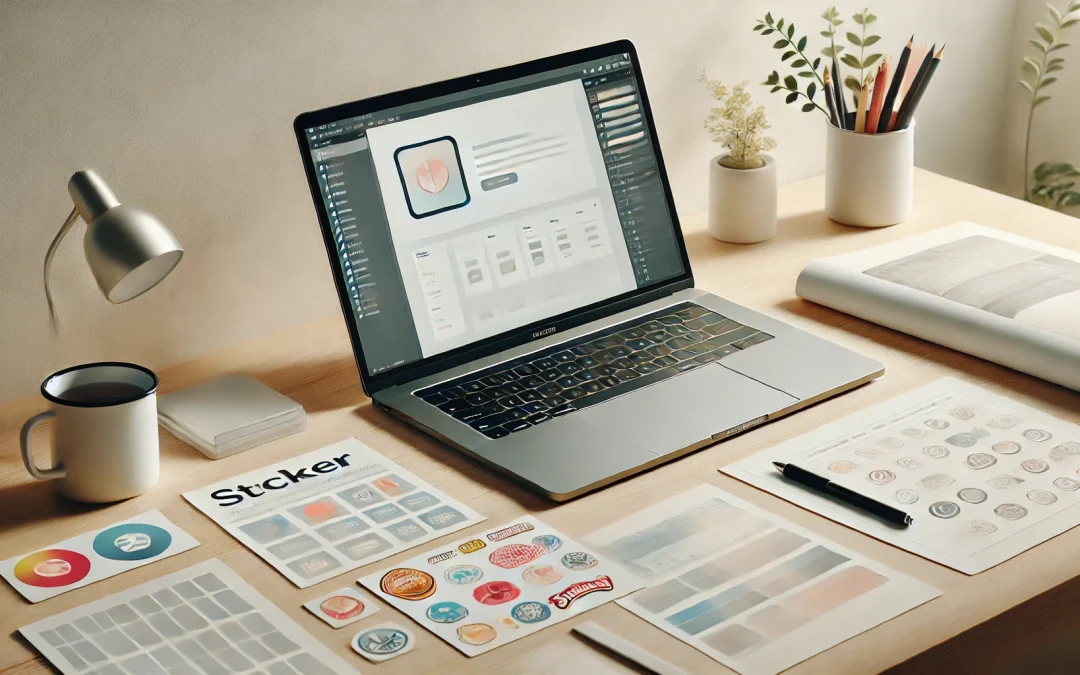
Sticker mockups are essential for showcasing your designs in a professional and appealing way. Whether you’re a graphic designer, small business owner, or creative hobbyist, mockups help you visualize and present your work without the need for physical prototypes. Creating a realistic sticker mockup doesn’t have to be time-consuming or complicated. In this guide, we’ll walk you through the steps to design high-quality mockups quickly and efficiently.
Why Use Sticker Mockups?
Mockups are more than just placeholders for your designs; they serve as a visual representation of how your final product will look. For stickers, mockups allow you to:
- Test design elements such as colors, typography, and textures.
- Present your work to clients or stakeholders.
- Market your products on websites and social media.
- Save time and money by eliminating the need for physical samples.
Tools You Need to Create Sticker Mockups
To create professional-looking sticker mockups in minutes, you’ll need the right tools. Here are some popular options:
- Graphic Design Software: Applications like Adobe Photoshop, Illustrator, or Affinity Designer are excellent for customizing mockups.
- Online Mockup Generators: Tools like Placeit, Smartmockups, and Canva provide ready-to-use templates.
- Stock Mockup Templates: Many websites offer pre-made mockup files in PSD or PNG formats.
Step-by-Step Guide to Creating Sticker Mockups
1. Choose the Right Template
Start by selecting a template that aligns with your design’s purpose. Look for:
- Shape Variety: Stickers come in different shapes like circles, squares, ovals, and die-cuts. Choose a template that matches your design.
- Material Options: Some mockups emulate matte, glossy, or holographic finishes. Pick one that fits your branding.
- Realistic Backgrounds: Templates with natural settings, like notebooks, laptops, or textured surfaces, add context to your design.
2. Prepare Your Design
Before applying your artwork to the mockup, ensure it’s properly formatted:
- Resolution: Use high-resolution designs (at least 300 DPI) to maintain quality.
- Color Mode: Stick to RGB for digital displays and CMYK for print-ready files.
- Transparency: If your sticker design includes transparent areas, export it as a PNG file to retain those elements.
3. Open the Mockup File
For PSD templates, open the file in Photoshop. These templates often come with pre-made layers and smart objects, making it easy to insert your design.
4. Insert Your Design Using Smart Objects
Smart objects are the secret to realistic mockups. Here’s how to use them:
- Locate the smart object layer in the Layers panel (usually labeled as “Your Design Here”).
- Double-click on the smart object thumbnail to open a new window.
- Paste your design into the new window and adjust its size and placement.
- Save and close the smart object. Your design will automatically appear on the mockup.
5. Customize the Mockup
Make your mockup more realistic by tweaking these elements:
- Lighting and Shadows: Adjust the shadows and highlights to match your design’s placement.
- Perspective and Distortion: Use the Warp tool to match the mockup’s shape.
- Background: Change the background color or image to enhance the overall presentation.
6. Export Your Mockup
Once satisfied with your mockup, export it in the desired format. Common options include:
- PNG: Ideal for transparent backgrounds.
- JPEG: Suitable for sharing on social media or websites.
- PDF: Useful for presenting to clients.
Tips for Creating Realistic Sticker Mockups
Use High-Quality Images
The quality of your mockup directly impacts its realism. Use high-resolution templates and export your designs in the appropriate format.
Experiment with Textures
Adding textures like paper grain, gloss, or vinyl effects can make your sticker mockup stand out. You can find texture overlays online or create them in Photoshop.
Match the Environment
If you’re using a lifestyle mockup, ensure the setting aligns with your target audience. For instance, a tech-themed sticker might look great on a laptop, while a cute cartoon design fits well on a notebook.
Leverage Online Tools
If you’re short on time or don’t have access to professional design software, online mockup generators like Placeit can save the day. These tools often provide drag-and-drop functionality and customization options, making it easy to create mockups in minutes.
Common Mistakes to Avoid
Overcrowding the Design
Too many elements can make your sticker look cluttered and unappealing. Keep the design clean and focused.
Ignoring Proportions
Ensure your design fits the sticker dimensions. Stretching or compressing your artwork can ruin its appearance.
Skipping Proofing
Always double-check your mockup for errors like misaligned designs, incorrect colors, or low resolution before sharing it with clients or publishing it online.
Where to Find Free and Premium Mockup Templates
- Freepik: Offers free and premium PSD mockups.
- Envato Elements: Provides a vast collection of high-quality mockup templates.
- Creative Market: A go-to platform for unique mockup designs.
- Mockup World: Features a variety of free mockup files for personal and commercial use.
- Canva: Includes a selection of customizable mockup templates.
Conclusion
Creating realistic sticker mockups is an invaluable skill for designers, marketers, and entrepreneurs. With the right tools and techniques, you can craft professional-quality mockups in just minutes. Whether you’re showcasing your designs to clients or promoting products online, sticker mockups are an excellent way to bring your creative vision to life. Start experimenting today and watch your designs shine!


